/
11. Installing the Motion Sensors
11. Installing the Motion Sensors
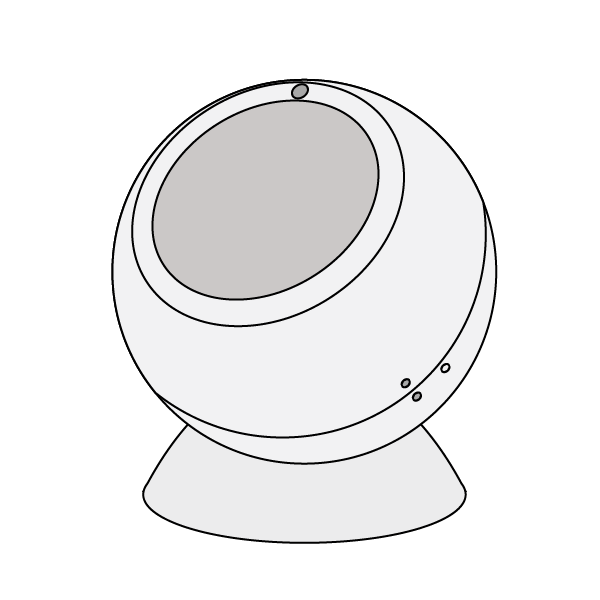
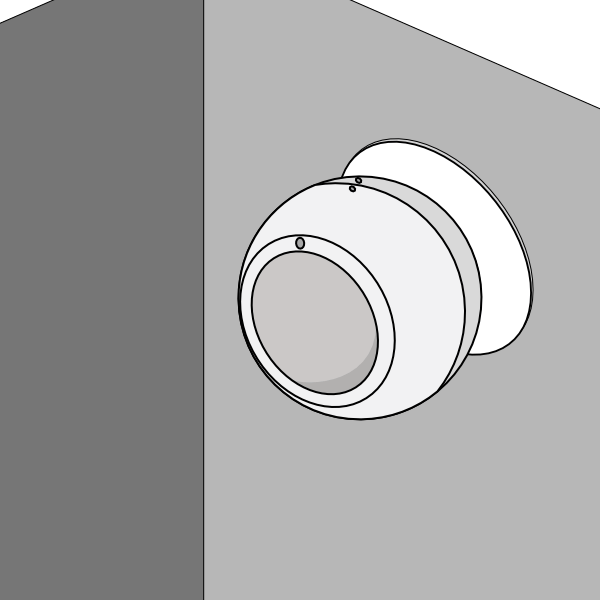
The Wireless Motion Sensors report when movement is detected in a room, providing access to Sense and Footprint Mode in the app and allowing the heating to only heat when a room is in use.
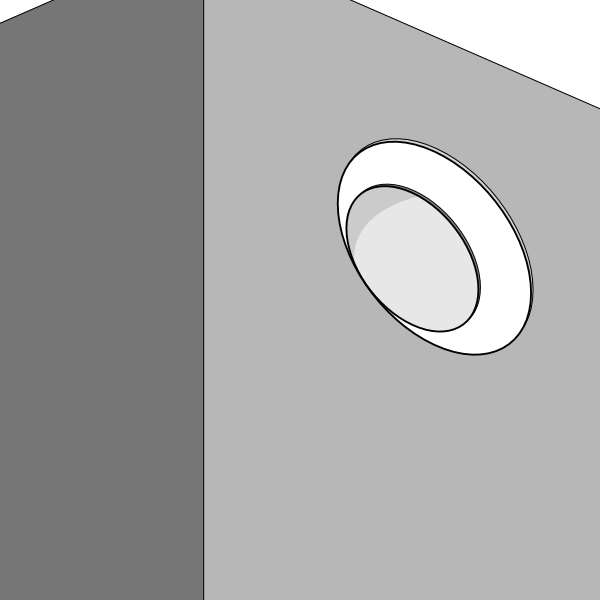
- First fit the round, concave mount to the surface you want to attach the Motion Sensor to, as the Motion Sensor can be rotated on the mount, it can be placed on nearly any flat surface including walls and ceilings. As the Motion Sensor does not measure the temperature, it can be placed at any height and it does not matter if it is near a heat source in the room.
- If the surface is magnetic, the mount can attach directly to it.
- If you don't want the mount to be moved in the future, use the white adhesive pad provided to attach the mount to the surface.
- If you want the mount to be removable in the future, use the white adhesive pad provided to attach the metal plate to the surface.
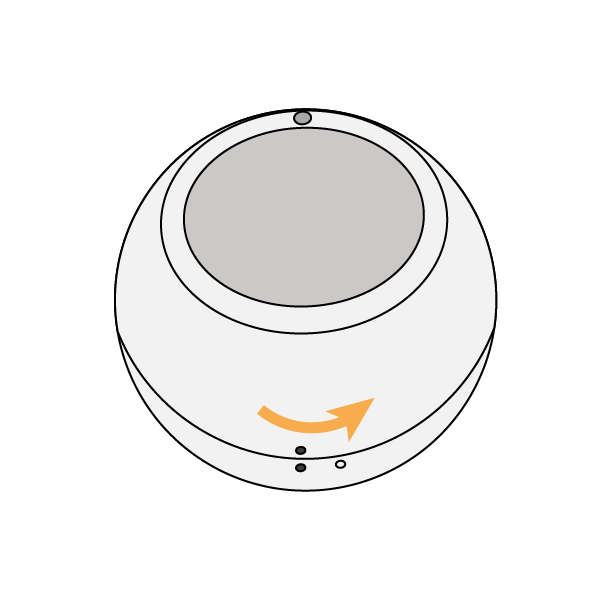
Open the Motion Sensor by twisting the 2 halves until the solid and hollow dots line up, then pull the back off the Motion Sensor.
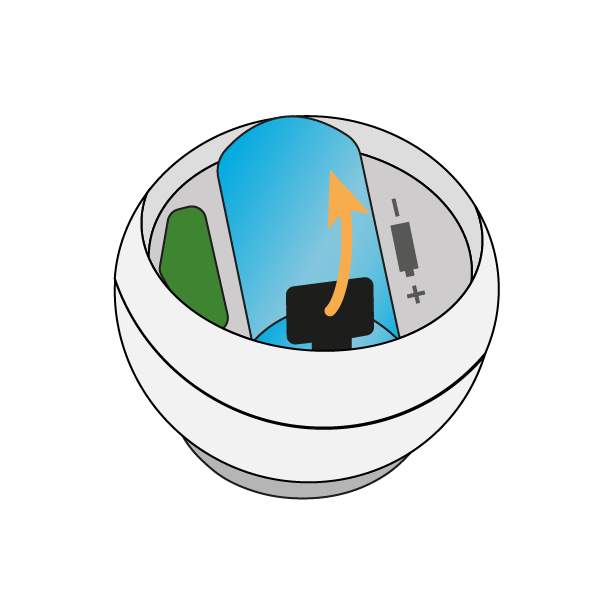
- Pull out the battery tab, then replace the back cover with the hollow dot and solid dots lining up. Twist the back cover until the 2 solid dots line up once again.
- Place the Motion Sensor on the mount. The 2 parts fasten together via magnetism allowing you to rotate the Motion Sensor to face the part of the room people are going to occupy.
Remember to leave the pack of fixings behind with the customer in case they want to move the Wireless Motion Sensor at a later date.
, multiple selections available,
Related content
10. Installing the Room Sensors
10. Installing the Room Sensors
More like this
4. Installing the Wireless Thermostats
4. Installing the Wireless Thermostats
More like this
Factory resetting a Genius Room Sensor
Factory resetting a Genius Room Sensor
Read with this
Wireless Motion Sensor Include
Wireless Motion Sensor Include
More like this
9. Installing the Radiator Valves
9. Installing the Radiator Valves
Read with this
Wireless Room Sensor Include
Wireless Room Sensor Include
More like this
