As well as being very flexible in the level of control you can have using the Genius system, it is also very easy to expand the system if you decide you want to add to your system at a later date.
Preparing your 'Genius Starter Kit' for zoning
If you started your Heat Genius system with a Genius Starter Kit and want to begin adding Genius Radiator Valves to your system, you will need to follow the instructions below before adding the first valve to your system:
- Go to your single 'Heating' zone.
- Click on the sub-menu, followed by 'Zone Setup'.
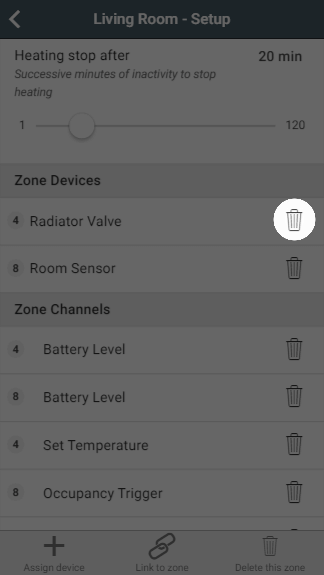
- Under the list of devices, remove all of the devices from this zone.
Click on 'Delete this zone' to remove this zone from your system
Info If you are adding Radiator Valves to only some of your radiators, then you may want to follow these instructions to create a schedule for the uncontrolled radiators.
- Click on the Home icon to return to the My House page.
- Click on the My House sub-menu, followed by 'My House Setup'.
- In the Quick Actions bar, click on 'Assign device'.
- Select the 'Single Channel Receiver' and 'Room Thermostat', followed by 'Assign'.
Prepare your 'Genius Starter Kit + Hot Water' for zoning
Adding the 'Hot Water Time and Temperature addon' to your system
Create new zone
If you need to create a new zone to add the device to:
...
- Click on the zone you want to add the channel to.
- Click on the Zone sub-menu and Zone Setup.
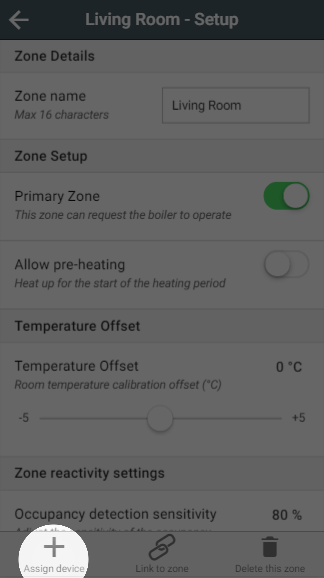
- Click on 'Assign device'.
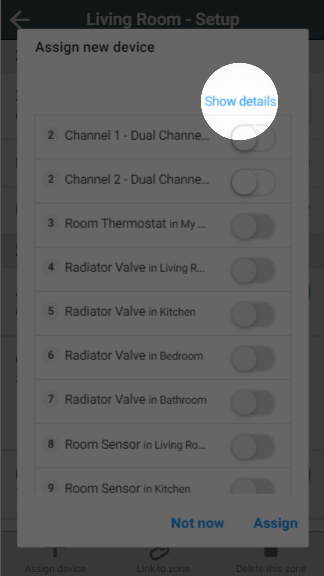
- Click on 'Show details' above the list of devices.
- Find the number of the device you want to assign the channel from (this will have been shown on screen during the inclusion process, or on a sticker if purchased as part of your original system).
Select the channel of the device and click 'Assign'.
| Info |
|---|
For more information on the channels, see this article. |


